Hiya, I wanted to make a post about some simple stuff I had to learn/look up while using GIMP, the 'GNU Image Manipulation Program' aka 'free photoshop'. GIMP is an image manipulation software that's free and open source, and available on all desktop platforms + multiple architectures (ARM64, x86, x86_64, Apple Silicon & Intel). I'm not an artist, and am generally not visually creative in that way at all. I also had never used a 'proper' image manipulation program before using GIMP, so I had no point of reference for terms and tools that I should be using (which was probably beneficial tbh). Anyway, the main things I have done with it are transparent backgrounds (the floating images throughout my site) and two larger projects that I'll talk about near the end.
Sections
Image With a Transparent Background
Image With a Transparent Background
These were pretty easy once I learned how to set them up. These instructions are based on my use of the older 2.10.36 Debian/Ubuntu system package version, but I don't believe the layout of menus has been drastically changed anytime recently. More current versions might have new features or more bug fixes, most recent release at this time is 3.0.6. Some useful commands throughout this section; Ctrl+Shift+A 'unselects' stuff, sometimes just clicking off the selected image works too, and Ctrl+Z is 'undo' (like in most editing software) but will remove any progress made with the Free Select Tool/Lasso! ALSO make sure the Move Tool is selected before tyring to move an image/selection; Tools > Transform Tools > Move, OR press the M key, OR the arrowed cross icon.
Making the background transparent: On a new image (File > New...) you click: Layer > Transparency > Add Alpha Channel. Then select the Fuzzy Select tool, either by clicking it's icon in the tools (a left angled line with a star on the top), OR clicking Tools > Selection Tools > Fuzzy Select, OR by pressing the U key. Once wielding the Fuzzy Select, click anywhere on the background and press the Delete key. Once this is done, the two-tone grey checkerboard left behind is your transparent background. You can press Ctrl+Shift+A to unselect the background.
Adding and scaling an image: Now that you have a transparent background, you can paste an image onto it. I usually use the 'Free Select Tool' aka 'Lasso', it lets you make a custom shaped selection via freehand drawing or connecting numerous straight lines of any size. You can zoom in and out as you click around the part of the image you want to select, allowing for more precise shaping/cutting. You can also adjust the last click/anchor point made (little circles where you clicked) by holding click on them and dragging them around. Once the part of your image that you want is selected, you can cut it with Ctrl+X (or Edit > Cut), then transfer over to your transparent background image and paste it with Ctrl+V (Edit > Paste). If you accidentally unselect an image and/or paste it somewhere you didn't want, it's often easier to just undo (Ctrl+Z) and repaste (Ctrl+V) it. Sometimes the image you add may be larger than the base canvas (especially if it's a higher definition photograph), once it is pasted it should still be selected and allow you to move the image around the canvas. While selected you can scale your image with the Scale tool by: Clicking on it's icon (small rectangle with an arrow pointing down and right at it), or with Tools > Transform Tools > Scale, or Shift+S. The Scale tool will tell you the size of your selection (default is in pixels, but can be in other measurements), and allow you to drag from a corner of the selection to make it larger or smaller. It should also default to keeping the aspect ratio, if it is not doing this there is a little chain icon on the middle right side of the 'Width' and 'Height' measurements, that toggles on and off linking the two when scaling, otherwise a checkbox option in the toolbar tab that reads 'Keep Aspect' does the same.
Resizing Canvas/Image (optional): After scaling, I will typically move the image selection to the top left corner of the canvas, then shrink the canvas around it by choosing Image > Canvas Size..., unlinking the Height and Width aspect ratio of the Canvas Size window (chain icon), and lowering the sizes to frame the image as closely as possible. There is a little thumbnail of the whole canvas that makes this easy to do visually, and if it isn't as closely or as evenly framed as I wanted, the Canvas Size can be altered again easily. After this I usually export it to a PNG (File > Export...) and then resize the exported image to fit my website's layout size in a simpler image editing program like 'Gwenview', 'Ristretto', or 'Drawing'. For reference to anyone using a Zonelets theme, I just make the width 600px. I think the overall box width is 700px, I just go with 600 to ensure it fits well without breaking on mobile, and it also usually brings the file size down to sub 500KB.
I find these fun to make and I think they look better on my site, with the black backgrounds. Plus I don't have to be as concscious about what is in the background of any photo I take for the site when I do this, as I will just cut it out anyway. As for the few GIFs I've made with the transparent backgrounds, I just repeated this process with several similar photos and used ezgif.com to turn them into GIFs :)
Other Projects
This section is not instructional, more just an overview of some of the other tools I learned to use while making these images, with examples linked :)
Virbex City: Here is a direct link to the image, and to the credits page which lists all of the art used from multiple artists across OpenGameArt.org, plus the respective image licenses. This was an image I made for the background of my virtual worlds themed blog 'Virbex', partially inspired by the loading screen of Habbo Hotel. It was mostly just a lot of copy + pasting all the pixel art city-themed images onto this base (which were all gathered from OpenGameArt.org) and recolouring a bunch of it. I started with the road layout, then placing the buildings from the top of the image down (when I remembered perspective). Made a lot of mistakes but had fun and learned a lot about GIMP in the process. I think the most involved part was using the Cage Transform tool (Tools > Transform Tools > Cage Transform) to apply the VIRBEX text (which was flat 2D) on the central building (isometric angle 2D), which I kind of just winged. The Cage Transform tool allows you to create a cage around an image selection, in order to manipulate it, and worked way better for this purpose than the 3D Transform tool.
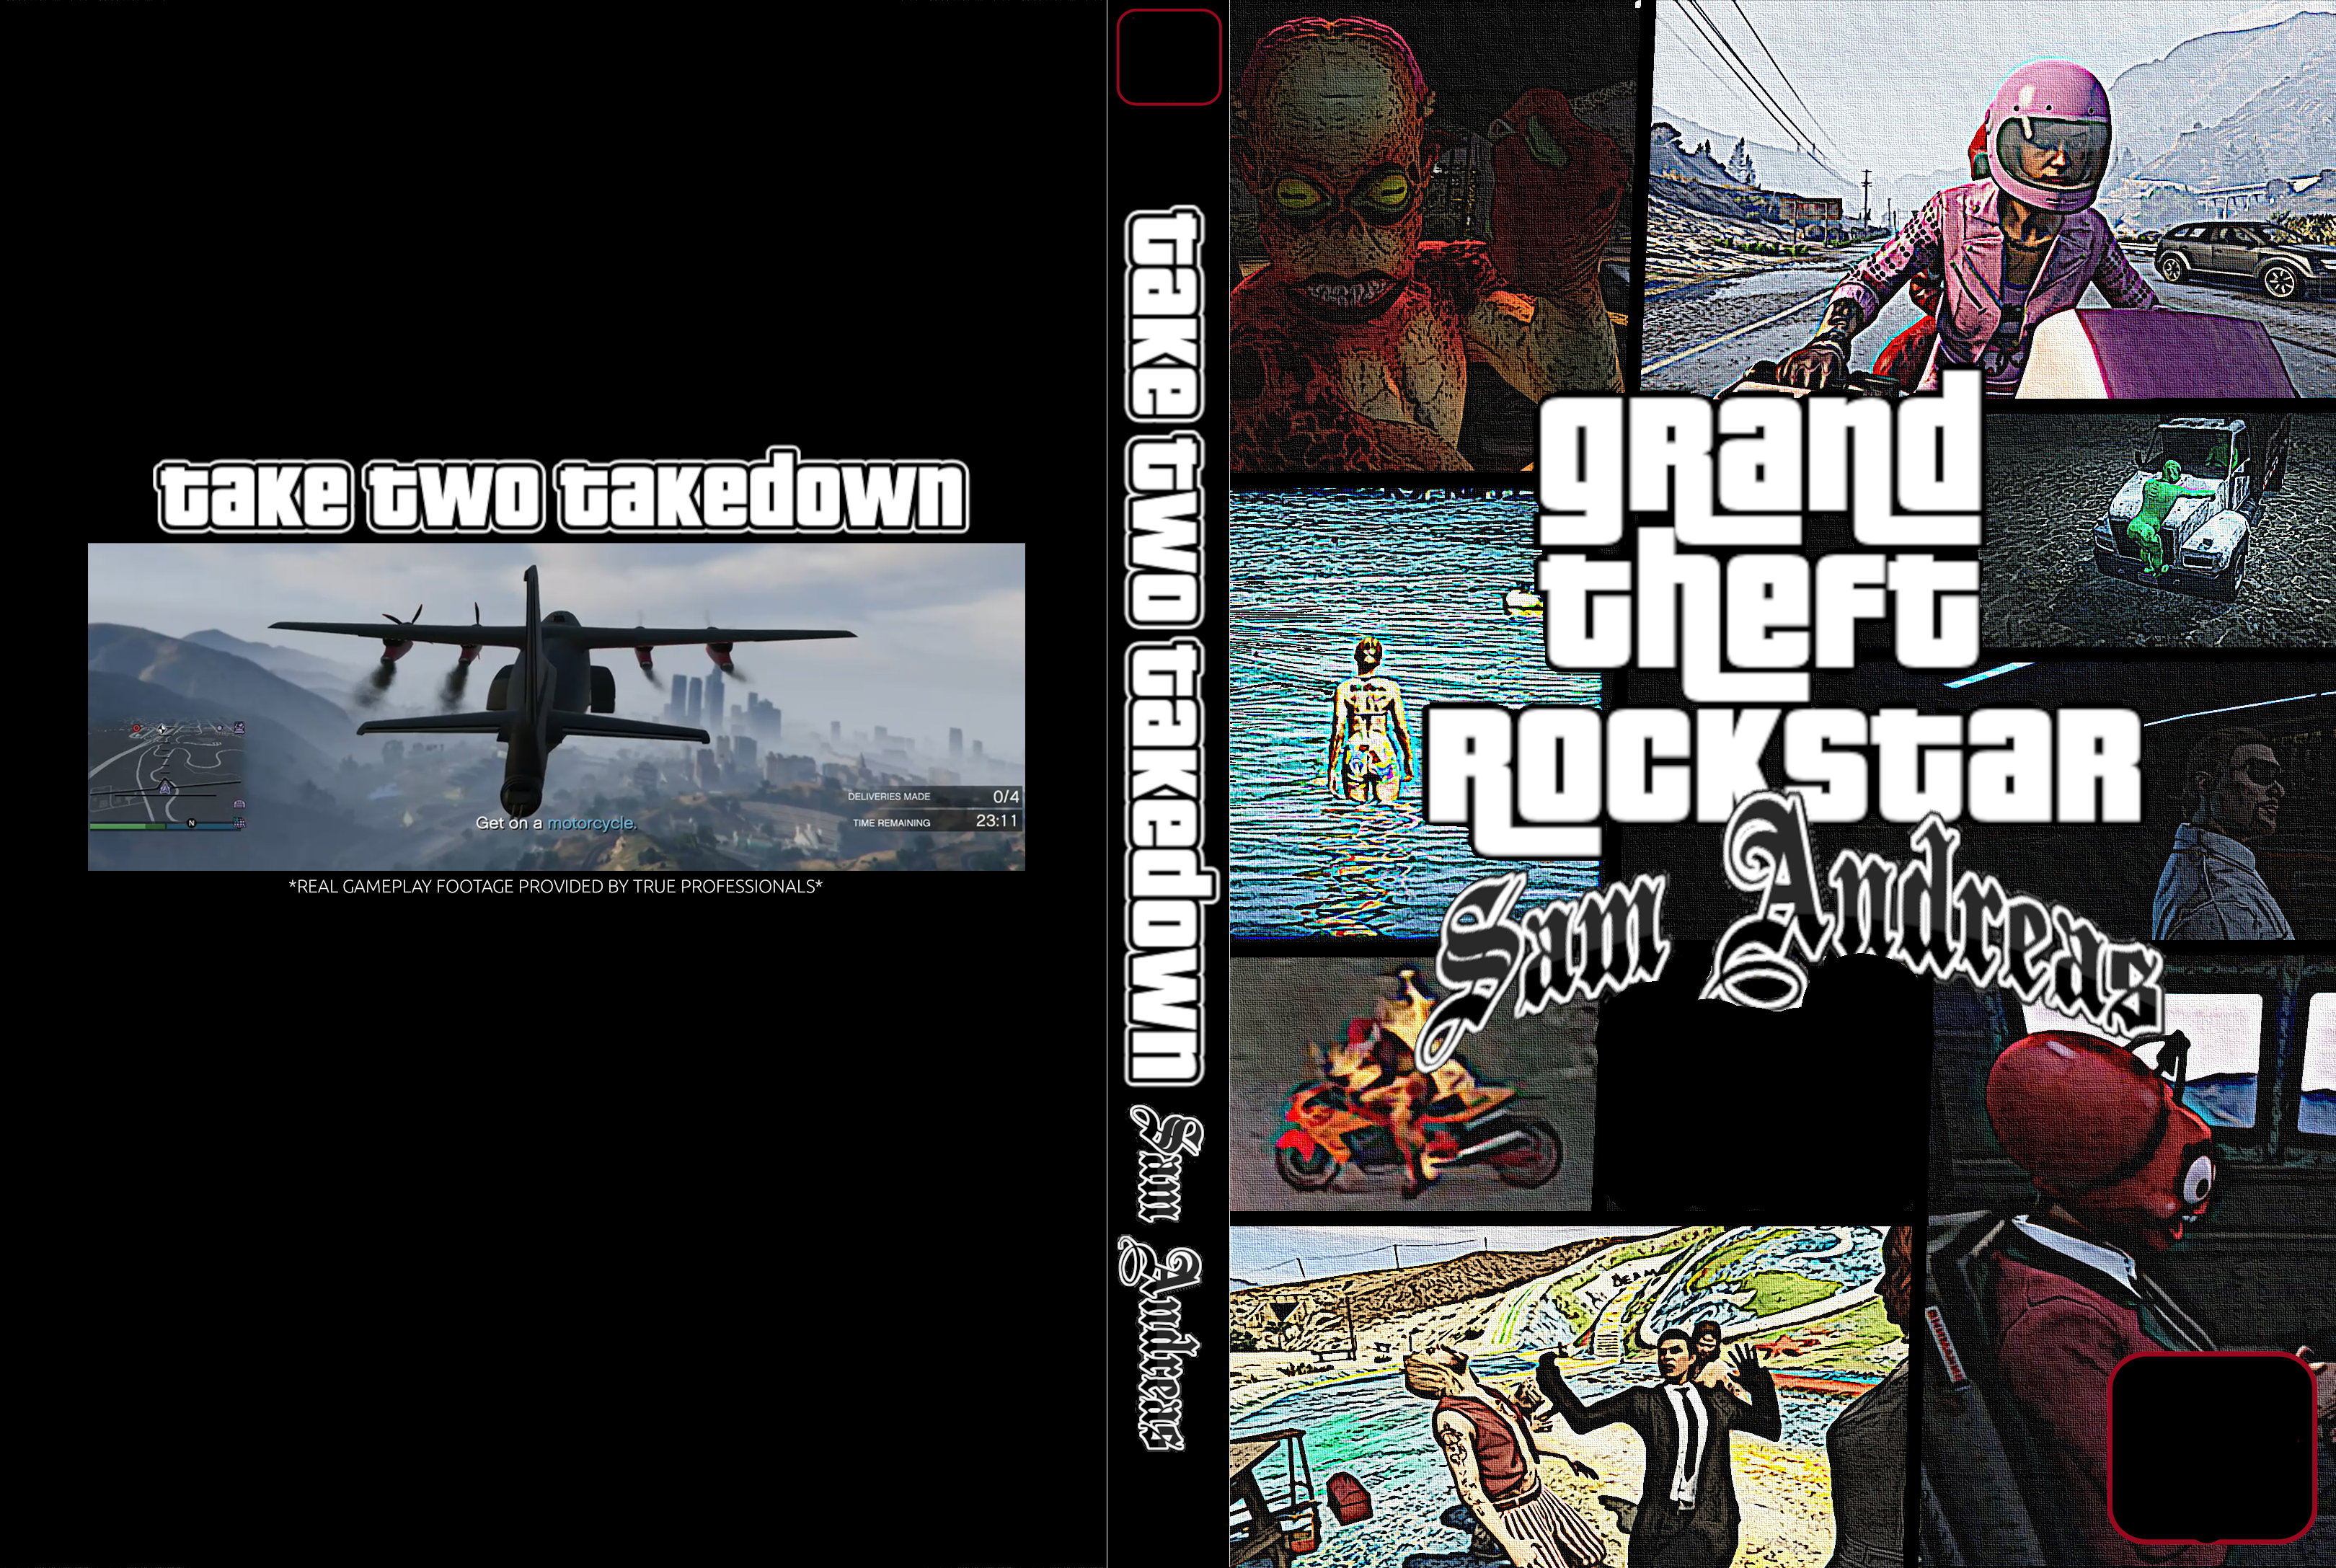
GTA Sam Andreas: Here is an edited demonstration image to view, with personal references/images removed. Made this for a friend, his name is Sam and we are both big fans of GTA San Andreas. It is essentially a parody DVD case insert of a GTA game, and includes a bunch of virtual photography taken in GTA Online by me or another friend. The main challenges of this were finding the exact dimensions of a DVD case insert (for correct canvas size and layout), and making the front cover look more comic art styled. I eventually found dimensions online and created layered sections of the canvas (front cover, spine, back cover) then added layers for the comic panels of the front cover. After adding all the photos I wanted on the front cover, I experimented with a few filters like Cartoon, Sharpen, and Noise Reduction, until it looked comic-y and added a Newsprint filter at the end. I ripped the GTA fonts of random websites, I think the main font from here and the San Andreas font from here (I just typed in the wording I wanted then screenshot it, I doubt it's safe to 'download' from these sites, lmao) and used the Curve Bend distort on the San Andreas font (Filters > Distorts > Curve Bend...). Also added a personalised blurb + images on the back, and used our GTA Online crew emblem where a Rockstar logo would be. The 'Take Two Takedown' subtitle is a reference to Take Two/Rockstar's shitty anti-modding/community practices, another thing we both follow closely.
Part of the way through making this I saved a blank template with the DVD cover layout and the front cover comic panel layers added which I will share here. This .xcf template is free to use/alter in any way, without restriction. Maybe it can save some time getting the dimensions of a DVD case insert (can delete the panel layer on the front if you want) or if someone else wanted to make a GTA cover parody, lmao.
Thanks for reading!